

Create a CI/CD pipeline to publish your bot developed in Bot framework composer
BOT framework composer pipeline | Chatbot CI CD pipeline automation | chatbot yaml pipeline


Composer developers can create a CI/CD pipeline to easily deploy new versions of their bots. Using Composer, Azure DevOps, and git, developers can seamlessly deliver their software updates.
To create a CI/CD pipeline, you will need:
An Azure DevOps project where you will configure the Azure pipeline An Azure subscription where you will be deploying your bot A git repository with the source for the bot you are trying to deploy An Azure resource group with the following resources provisioned and configured: An Azure App Service plan for your web apps An Azure App Service to deploy your bot An Azure Bot (Optional) A LUIS Authoring and Perdition resource (Optional) A QnA Maker resource The sample YAML files referenced in this article can be found on GitHub.
Composer developers can use this CI/CD pipeline to easily deploy new versions of their bots. Using Composer and Azure DevOps developers can seamlessly deliver their software updates.
The Existing CICD approach can he found at github.com/gabog/ComposerCICDSamples . This pipeline has only build pipeline and no release pipeline with single stage deployment.
Features of this Repository
This sample code will enhance the existing CICD Pipeline for Bot Composer Framework further in the following ways:
a. Multi stage deployments are implemented for multiple environments.
b. Importing the existing Knowledge Bases (KB) into the repository while deployment instead of manually adding the file.
c. Enhances the QnA Maker deployment.
d. Gives user the option to either deploy only web appliaction or the model files of LUIS and QnA Maker if required
e. Implements further security by demostrating how to pass key vault value to the app settings in the bot's application configuration
f. Also this solution fixes a bug in the existing approach as stated in github.com/gabog/ComposerCICDSamples/pull/7 . The code fixes the "Cannot find path '/home/vsts/work/1/s/dialogs...' because it does not exist" from occurring due to the recognizers having names as substrings of another recognizer.
g. LUIS limits the maximum number versions of the previous builds to 100 as per the Microsoft documentation at docs.microsoft.com/en-us/azure/cognitive-se.. . This solution retains only the last five versions and deletes the older versions of the LUIS. This value can be configured based on the number of versions as needed.
h. This solution also automates the creation of Prediction Resources for LUIS as per the documentation at docs.microsoft.com/en-us/azure/cognitive-se..
Configuration steps
Provision your Azure environment
Add YAML files to your bot project source code
Download the YAML files provided and add them to your bot's source code in git under the build folder. Then merge the changes into your main branch.

Configure an Azure Service Connection for your Azure DevOps project
Your pipeline uses a service connection to interact with the resource group where the Azure resources for your bot are located. Create a service connection and note the name in the Pipeline parameters table under the AzureServiceConnection setting.
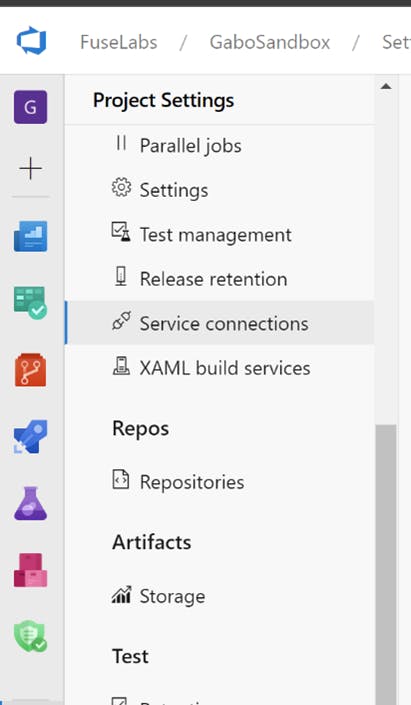
To configure a Service Connection, go to the Project Settings section in Azure DevOps, and select Service connections, as seen below:
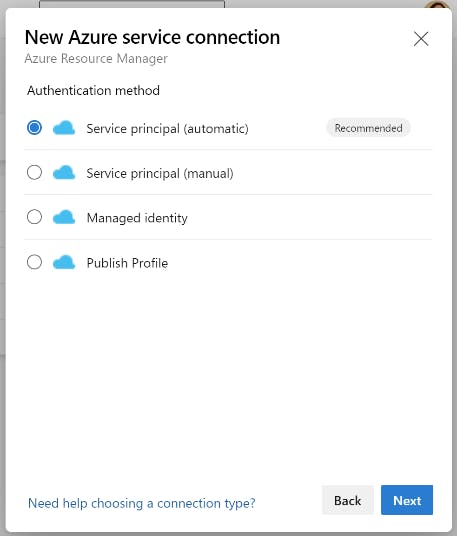
Then select the New Service Connection button and create an Azure Resource Manager resource:

Select Service principal (automatic) and grant it permissions to the Azure resource group where you created your bot resources.
See Service connections in the Azure DevOps documentation for additional information.
Create your pipeline
In your Azure DevOps project pipelines section select new pipeline.
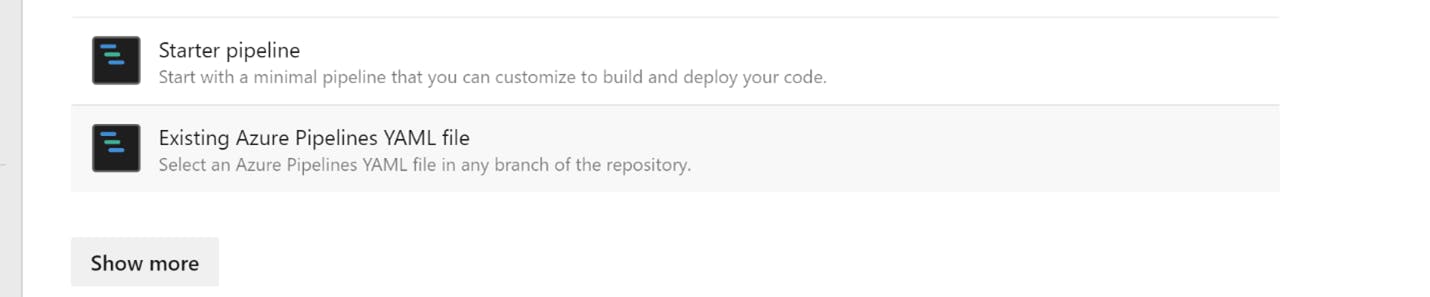
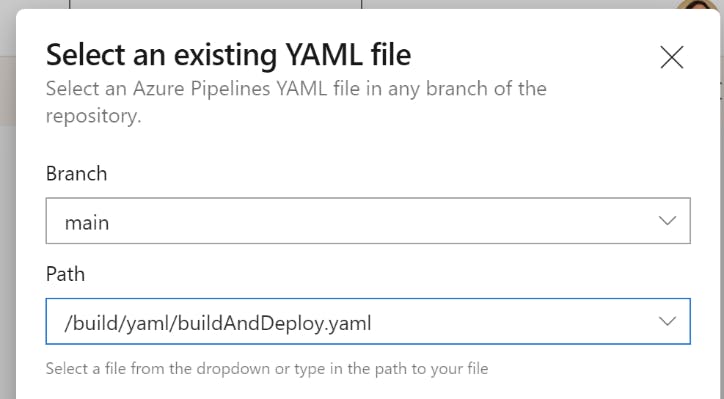
Select your source code provider and repository in the first two tabs and in the Configure steps above. Scroll down to the bottom of the page and select Existing Azure Pipelines YAML file:
Then select the buildAndDeploy.yaml file you previously added to the repository:
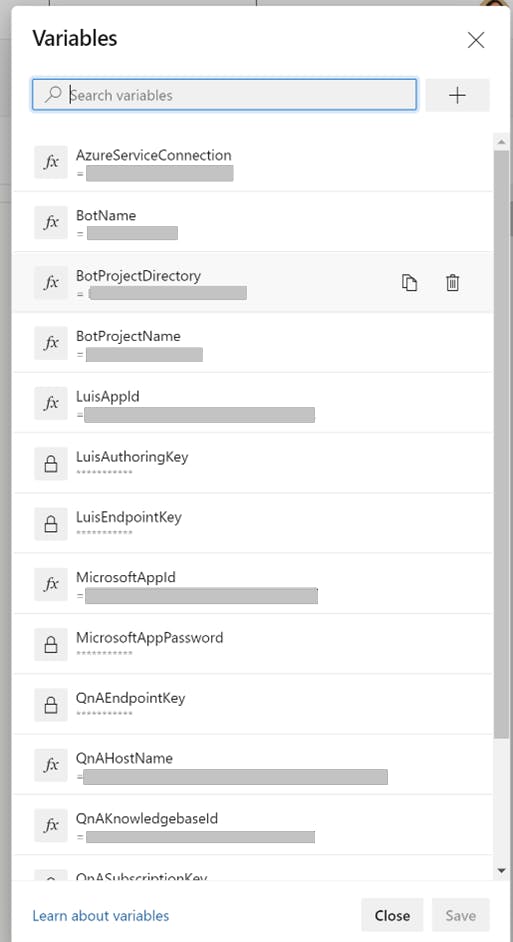
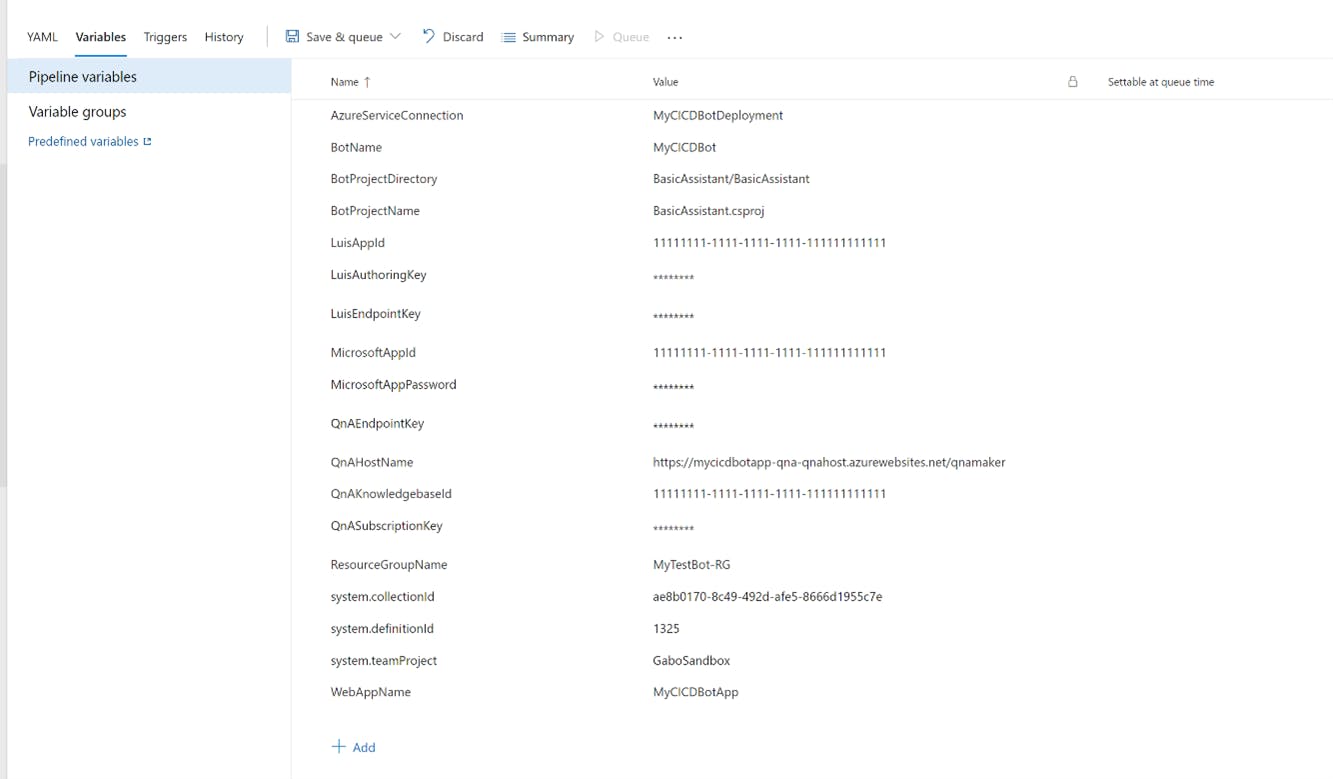
In the Review tab, select the Variables button and create the variables with the values defined in the Pipeline parameters table. Make sure you check the Keep this value secret option for sensitive parameters.
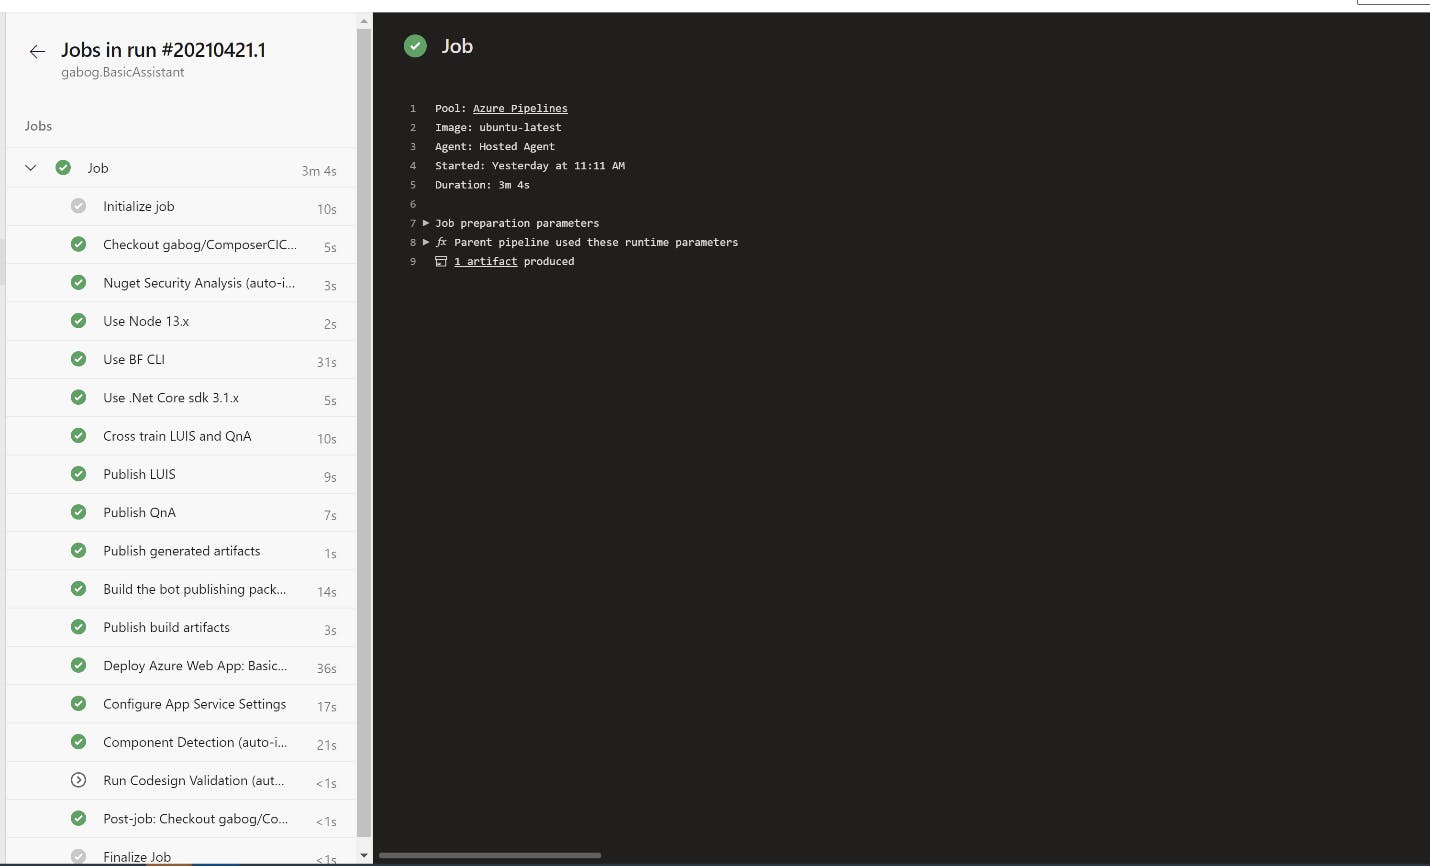
Then select Run. This saves and executes your pipeline for the fist time, seen below:
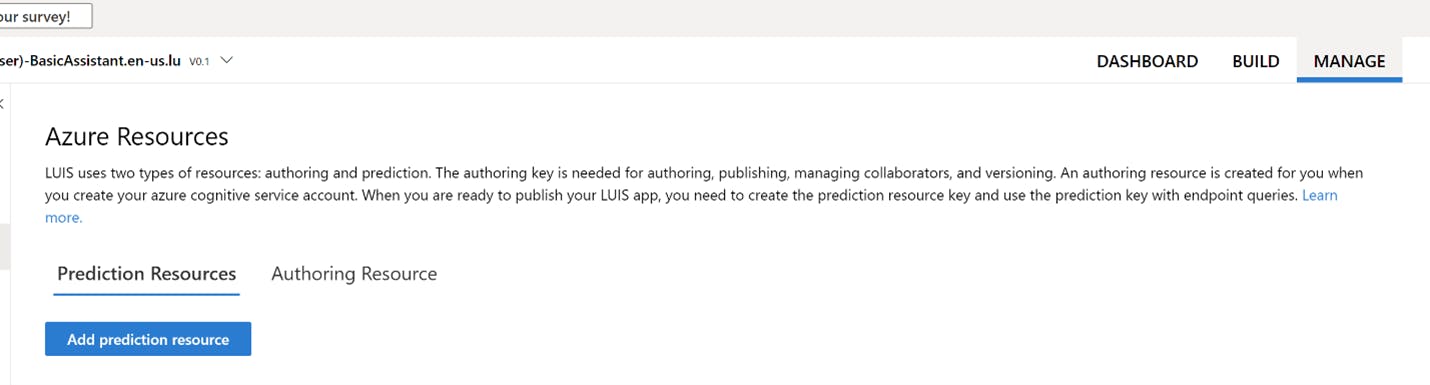
Configure your LUIS prediction resources (first time only)
Depending on your bot, the pipeline will create one or more LUIS apps when you run it for the first time. Once that is done, make sure you set the prediction resource in the Manage section for your LUIS applications:
 Here is an example of how the pipeline variables would look in Azure DevOps:
Reference MS Docs:
Refer videos in my channel for live explanations.
Youtube Channel